qixinwei-pcba


Raspberry Pi Pico GPIO Expansion Board Screw Terminal 40Pin All Pins Breakout Plug-and-Play No Soldering Pico Accessory
Raspberry Pi Pico GPIO Expansion Board Product Overview
The Raspberry Pi Pico GPIO Expansion Board is a plug‑and‑play expansion accessory designed specifically for the Raspberry Pi Pico and Pico W. It uses a standard 2.54mm female header to allow direct stacking without soldering. The board breaks out all 40 GPIO pins of the Pico to clearly labeled screw terminals, making it easy to connect external sensors, actuators, displays, and other peripherals. Whether you are a beginner learning electronics or a professional developer prototyping new ideas, this expansion board significantly improves development efficiency.
Raspberry Pi Pico GPIO Expansion Board Core Features
All Pins Broken Out with Clear Labels: All 40 GPIO pins of the Pico are fully broken out to screw terminals. Each terminal is clearly labeled with the corresponding GPIO number and function (e.g., GP0, GP1, GP26, etc.). The pin order is consistent with the Pico‘s layout. Labels follow the G (GND) / V (VCC 3.3V) / S (Signal) standard for easy identification.
No Soldering, Plug-and-Play: The expansion board uses a standard 2.54mm female header. The Pico can be directly stacked on top without any soldering. Quick insertion and removal allow for easy switching between projects.
Screw Terminals for Reliable Connections: Screw terminal blocks replace traditional pin headers and sockets, accommodating 18‑26 AWG solid or stranded wires. Connections are firm and secure, making the board ideal for long‑term educational experiments and prototyping.
Onboard Reset Button and Power Indicator: An onboard reset button (RESET) allows you to restart the Pico at any time for easy debugging. A power indicator LED (PWR) lights up when power is supplied. Some models also feature colored LEDs (e.g., pink for 3.3V, red for 5V, blue for GPIO) for intuitive pin function identification.
LEGO-Compatible Mounting Holes: The board includes four standard LEGO‑compatible mounting holes, allowing it to be securely attached to LEGO structures or maker base plates, making it ideal for educational and robotics projects.
Standard Interface Specification: All interfaces use a standard 2.54mm pitch, compatible with a wide range of sensor modules, servos, displays, and other peripherals. Supports I2C, UART, SPI, SWD, and other communication protocols.
Raspberry Pi Pico GPIO Expansion Board Applications
Raspberry Pi Pico Beginner Learning: Quick start with Pico development by connecting various sensors and modules without soldering
Maker and DIY Projects: Prototyping for smart cars, robotics, environmental monitoring, and more
Educational Lab Teaching: Electronics course lab equipment for schools and training institutions; LEGO holes enable easy integration
Rapid Prototyping: Hardware prototyping and functional verification during product development
Sensor/Actuator Testing: Convenient connection and testing of various sensors, servos, displays, relays, and other peripherals
IoT Project Development: Rapid prototyping of wireless IoT nodes based on Pico W
Raspberry Pi Pico GPIO Expansion Board Key Advantages
The Raspberry Pi Pico GPIO Expansion Board fully breaks out all 40 GPIO pins of the Pico to screw terminals, fundamentally solving the problems of loose connections and poor contact commonly encountered with breadboards or jumper wires. Screw terminals firmly clamp wires, ensuring stable and reliable signal connections, making them ideal for long‑running experiments and projects.
The expansion board adopts a no‑soldering design with standard 2.54mm female headers for direct stacking. Clear silkscreen labels and the GVS interface standard allow beginners to quickly find the correct pins, significantly lowering the learning curve. The onboard reset button and power indicator further simplify debugging.
The expansion board retains all of the Pico‘s functional pins, with all GPIOs, power, and communication buses (I2C/UART/SPI) directly mapped to the corresponding pins on the Pico chip without additional level shifting or logic processing, ensuring native, stable, low‑latency signals. It supports both Pico and Pico W models.
The LEGO‑compatible mounting holes make the board particularly suitable for educational and maker projects, allowing easy integration into LEGO robotics or other teaching platforms. Whether you are a beginner, educator, or professional developer, this expansion board offers a convenient and reliable GPIO connection solution.
Why Choose QIXINWEI
Years of experience in the electronics industry. Trusted by global customers.
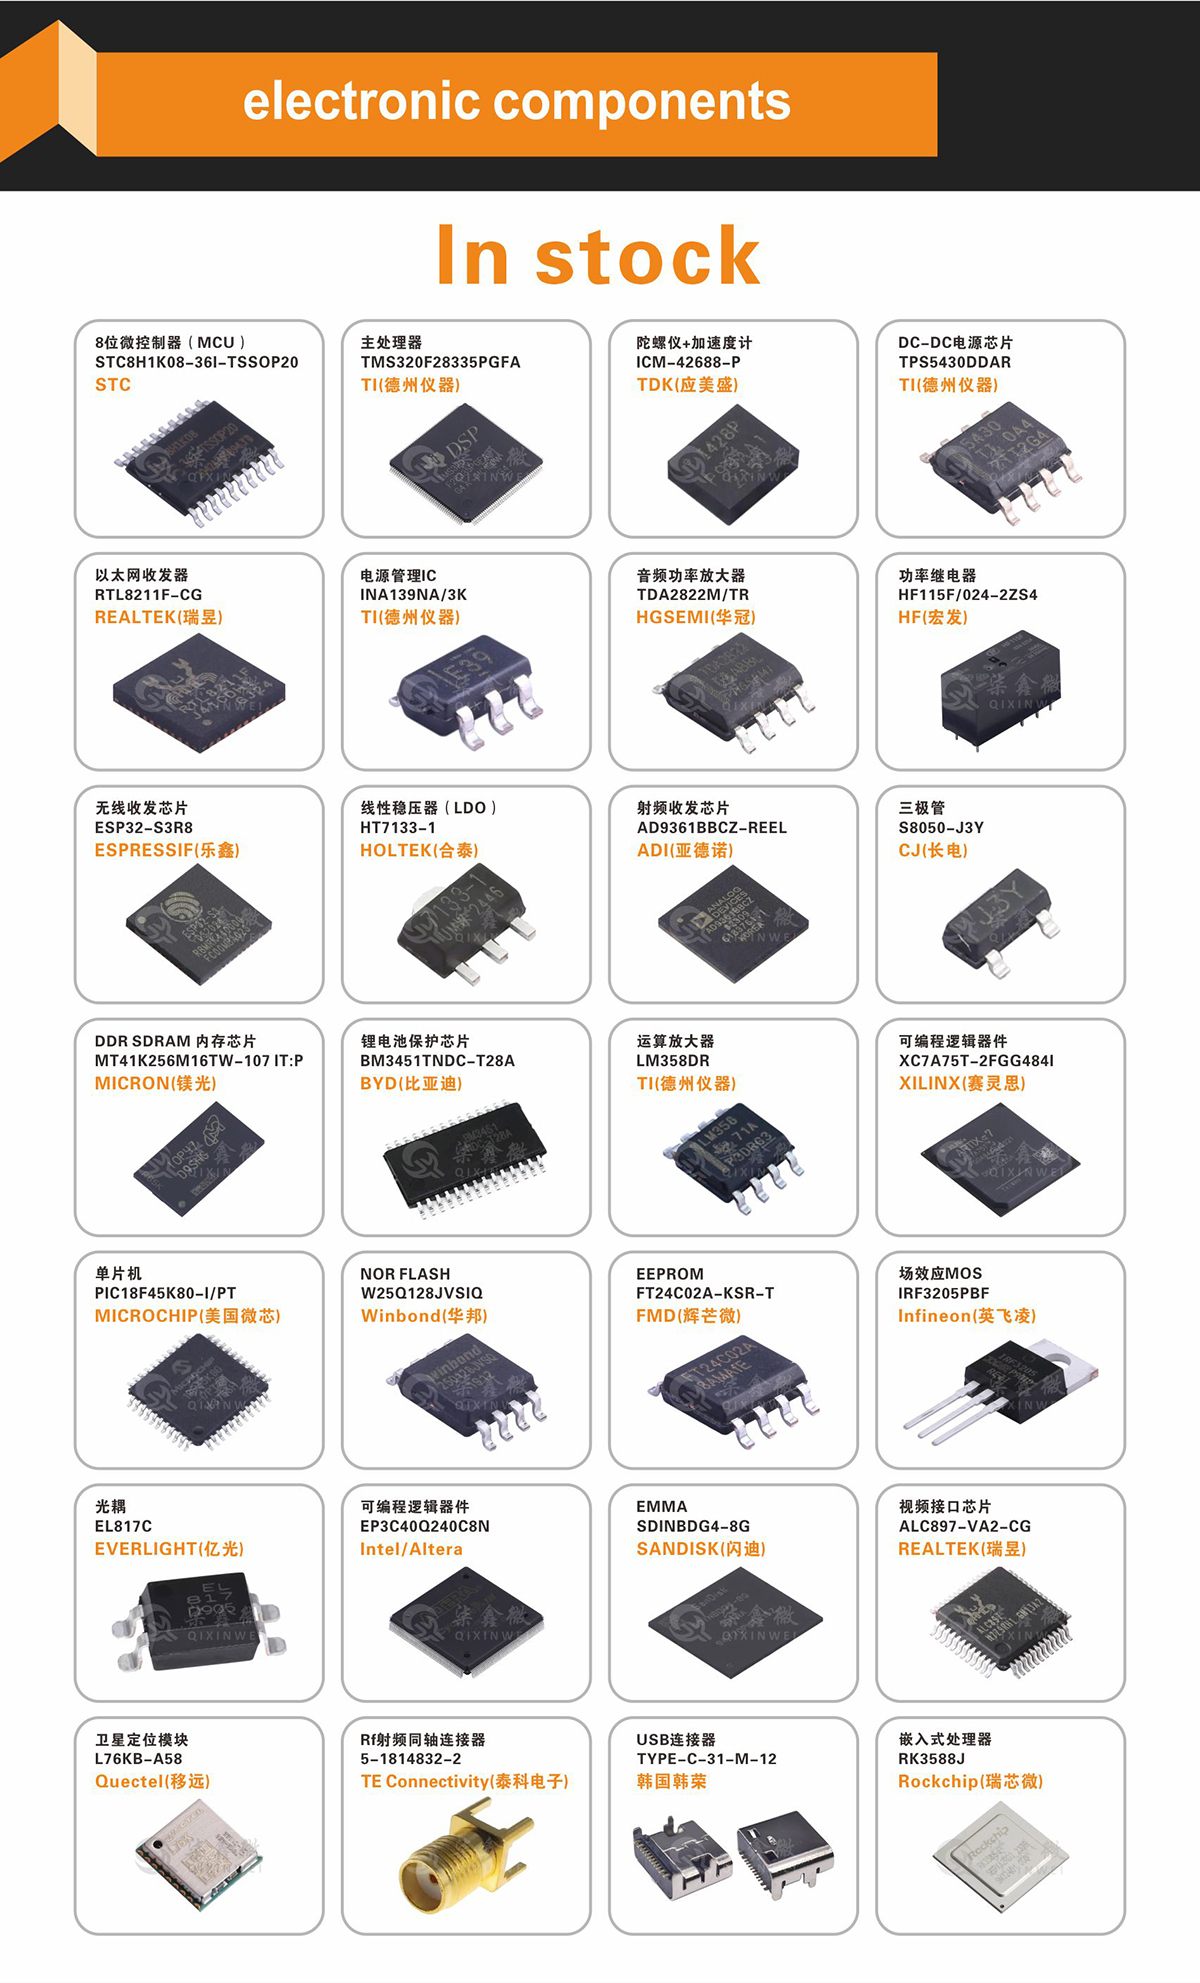
Massive In-Stock Inventory – Ready to ship promptly
BOM Matching Service – One-stop solution, save time
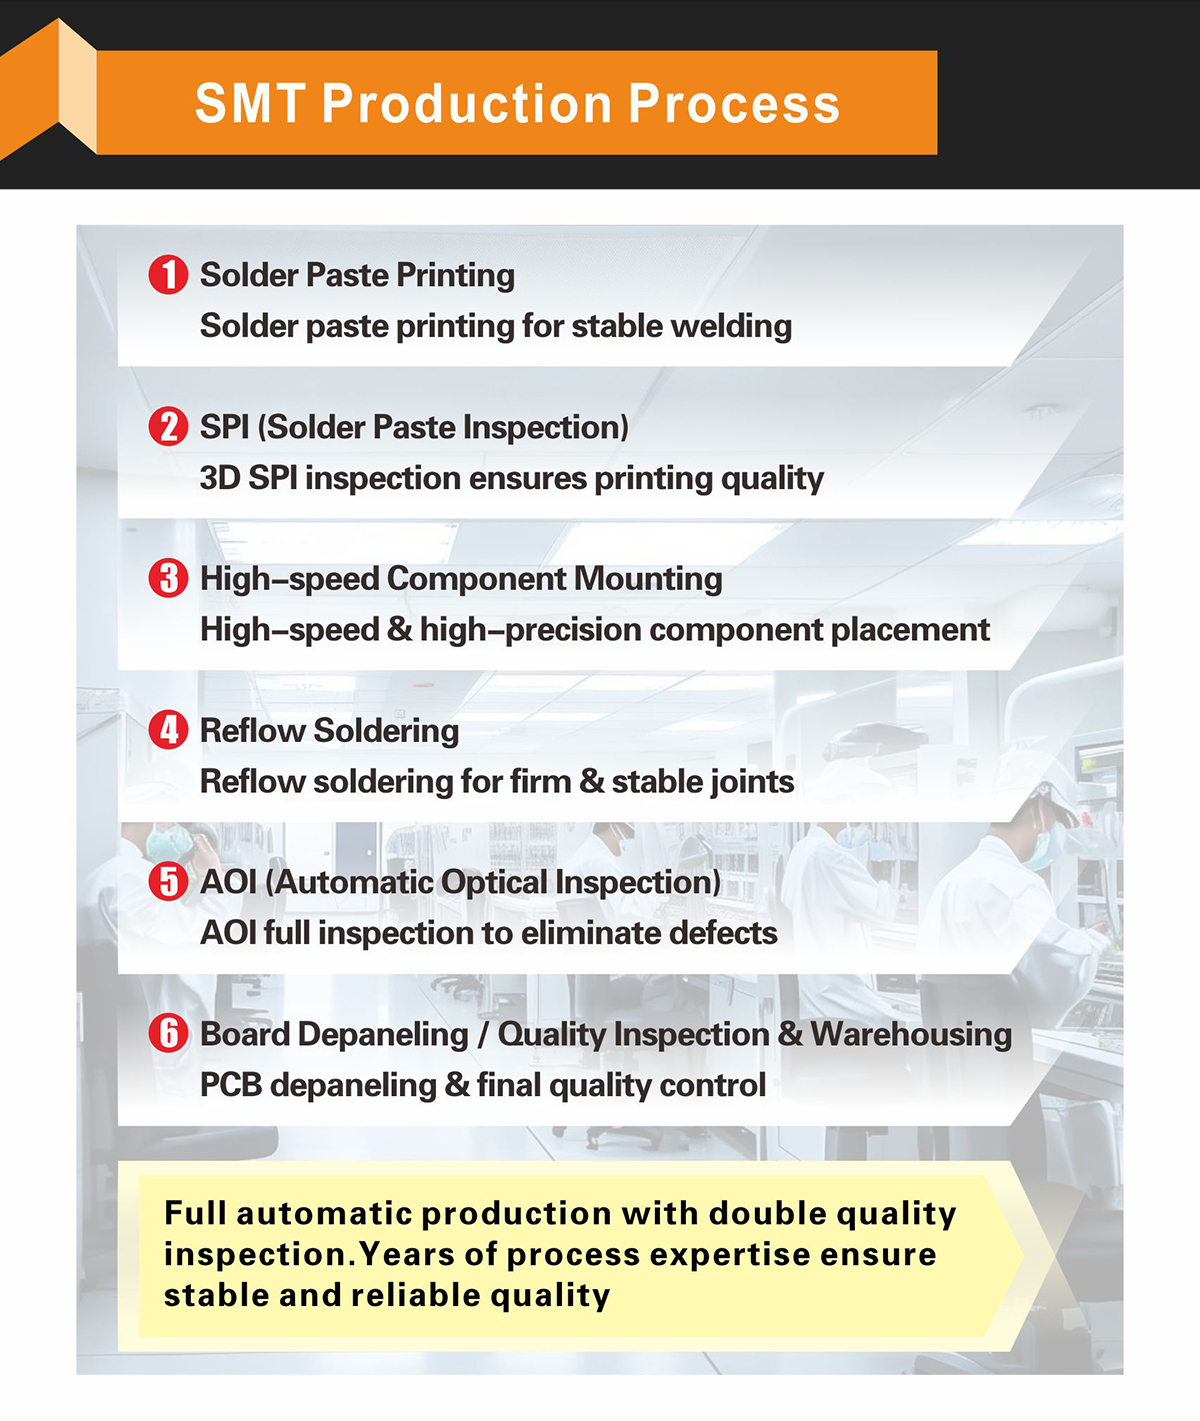
PCBA Customization – Professional engineering team creates tailor-made solutions based on your needs
Cost-Effective & Efficient – Better channel, better cost
A dedicated team makes your procurement smoother.
Contact us for BOM quotes or PCBA inquiries







FAQ
1. What is the main purpose of this GPIO expansion board, and what problem does it solve?
It breaks out all 40 pins of the Raspberry Pi Pico to screw terminals, allowing you to insert stripped wires and tighten them without any soldering. This provides a reliable connection to sensors, actuators, or external circuits, making it ideal for rapid prototyping, educational experiments, and situations where wiring needs to be changed frequently.
2. Do I need to solder to install the expansion board? How do I attach the Pico?
No soldering is required. The board typically uses a socketed design—simply align the Pico’s 40‑pin header with the female headers on the expansion board and press evenly to seat it. Some versions also include screws and standoffs to securely fasten both boards together for reliable contact in mobile or vibrating environments.
3. Which Raspberry Pi Pico models are compatible with this board?
It is compatible with all Pico models that use the standard 40‑pin dual‑in‑line pinout, including the original Raspberry Pi Pico (RP2040), Pico W, Pico 2 (RP2350), and Pico 2W. As long as your Pico has two rows of 20 pins, this expansion board will fit directly.
4. What are the specifications of the screw terminals? What wire gauge can they accept?
The terminals typically have a 2.54 mm pitch, matching the Pico’s pin spacing. Each terminal can accept single‑strand or multi‑strand wires ranging from 26 AWG to 18 AWG (approx. 0.14 mm² to 0.8 mm²). Insert the stripped end, tighten the screw with a screwdriver, and the connection is far more secure than a standard Dupont jumper wire.
5. Are the pin labels clear? How can I quickly identify the corresponding GPIO?
Yes, each screw terminal is clearly marked with silkscreen labels that match the Pico’s pin designations (e.g., GP0, GP1, GND, 3V3). These correspond one‑to‑one with the official Pico pinout diagram, so you can locate the required signal pin at a glance without consulting documentation.
6. Will using this expansion board affect the Pico’s heat dissipation or wireless signal?
The board typically has no large metal shielding, so there is no noticeable impact on heat dissipation or wireless performance. When using the Wi‑Fi feature of the Pico W or Pico 2W, simply keep the area around the antenna (near one end of the board) clear—the expansion board does not block the antenna.
7. What convenience does this board offer during prototyping?
It individually breaks out every GPIO, power, and ground pin to a screw terminal, allowing you to connect or swap sensors, LEDs, relays, and other components at any time without re‑soldering or worrying about loose jumper wires. After prototyping, you can simply loosen the terminals and fully recover the Pico for your next project, maximizing hardware reuse.
8. How do I power the Pico through the expansion board? Are all power pins brought out?
Yes, the board brings out all power pins including the 3.3V output, 5V input (VBUS), and multiple GND terminals. You can power external sensors via the 3.3V or VSYS pins, or supply the entire system with a 5V power source through the VBUS terminal—offering great flexibility.
9. What are the dimensions and weight of this expansion board? Is it suitable for embedding into a final product?
The overall size is typically slightly larger than the Pico itself, usually adding no more than 15 mm in length and width, and about 10 mm in thickness including the terminals. It weighs under 20 grams. While excellent as a development, debugging, and teaching tool, for space‑constrained final products a custom PCB designed around your specific wiring may be preferable.
10. Is it reliable to connect communication interfaces like I²C or SPI through screw terminals? Will there be interference?
The screw terminals have very low contact resistance and are fully capable of handling standard I²C (up to 400 kHz or 1 MHz) and typical SPI speeds reliably. For very high‑speed SPI (several MHz) or applications with strict signal integrity, keep the connecting wires short and avoid routing them near strong interference sources. Under normal use, this connection method easily meets the needs of most sensors and modules.
- Model:
- Raspberry Pi Pico GPIO Expansion Board
- Compatibility:
- Raspberry Pi Pico / Pico W
- Interface Type:
- Screw Terminal Blocks
- Pin Count:
- 40 Pin
- Pin Pitch:
- 2.54mm
- Wire Gauge:
- 18 – 26 AWG
- Logic Level:
- 3.3V
- Supply Voltage:
- 5V
- Mounting:
- 2.54mm female header stacking + 4×M2.5 mounting holes / LEGO‑compatible holes
- Applications:
- Pico development & learning, maker projects, educational labs, rapid prototyping, sensor testing