qixinwei-pcba


ESP32-CAM mini WiFi camera module with ESP32 chip and OV2640 sensor
ESP32-CAM Development Board Application features:◆ Main Chip
ESP32 (dual-core, WiFi + Bluetooth)
◆ Camera
OV2640 (2 megapixel, JPEG output support)
◆ Interfaces
TF card slot (up to 4GB)
Onboard LED flash
Serial download (USB to TTL required)
◆ Input Voltage
5V (via serial adapter or regulator)
◆ Programming
Arduino IDE / MicroPython / ESP-IDF
◆ Typical Applications
Wireless surveillance camera
Face recognition access control
Smart doorbell
Image recognition
Remote photo capture / video streaming
IoT vision node
◆ Key Advantages
Compact size (thumb-sized)
WiFi wireless image transmission
No external camera needed
Cost-effective
Rich code examples available
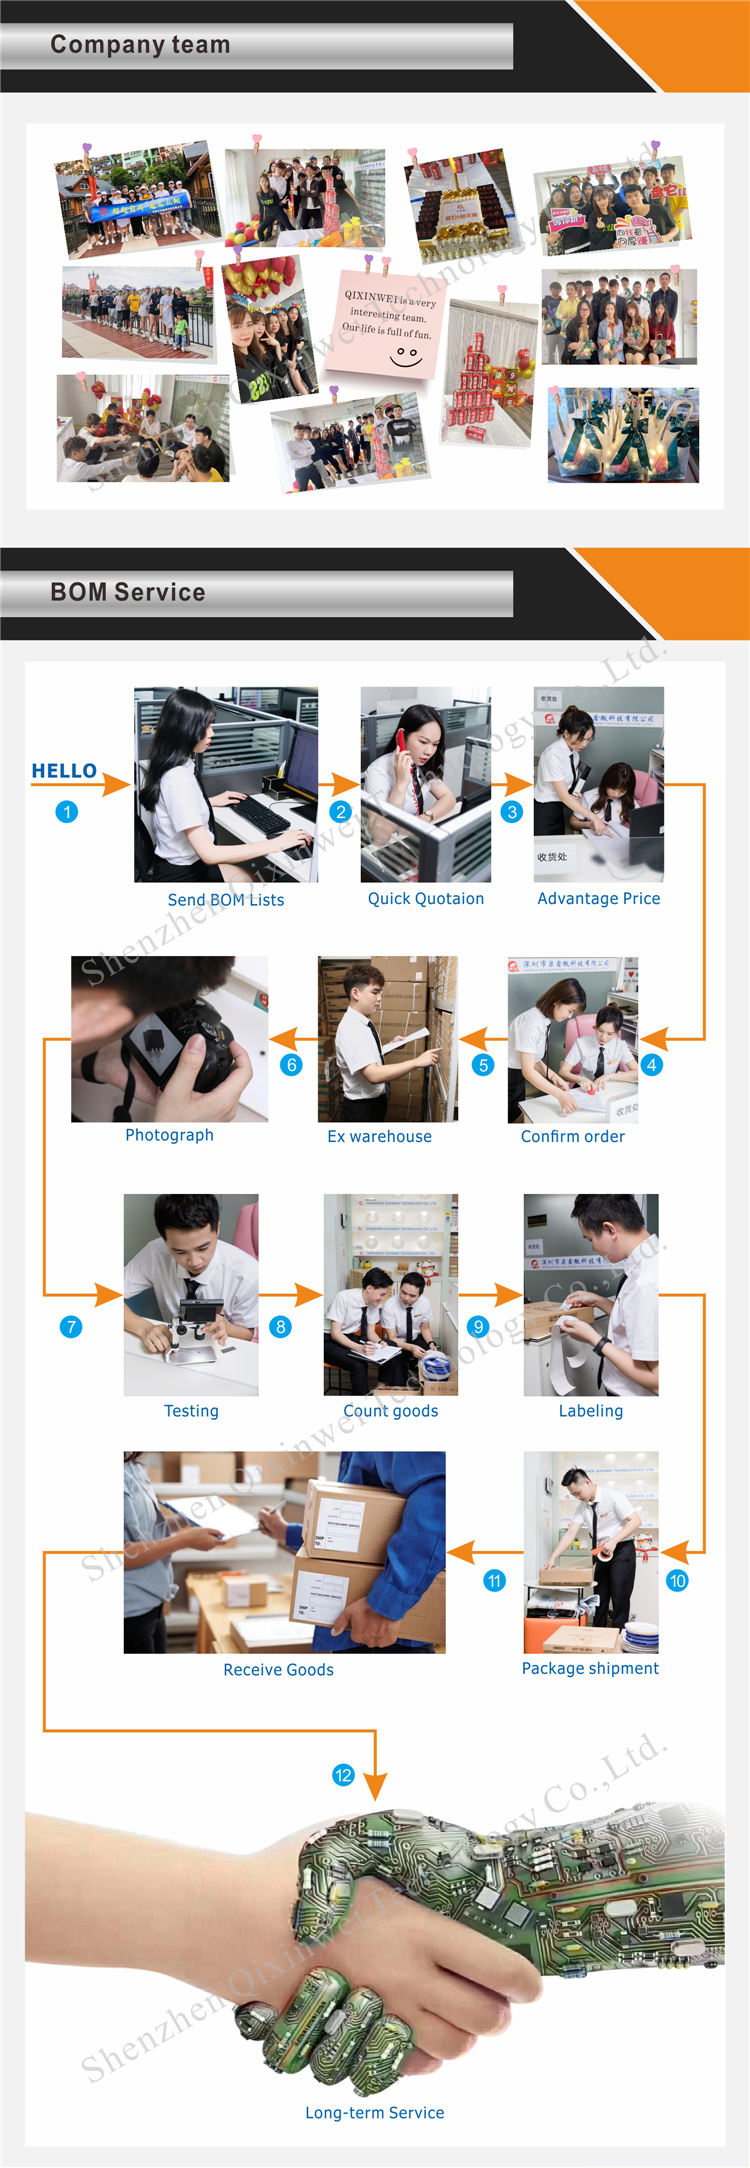
Why Choose QIXINWEI
Years of experience in the electronics industry. Trusted by global customers.
Massive In-Stock Inventory – Ready to ship promptly
BOM Matching Service – One-stop solution, save time
PCBA Customization – Professional engineering team creates tailor-made solutions based on your needs
Cost-Effective & Efficient – Better channel, better cost
A dedicated team makes your procurement smoother.
Contact us for BOM quotes or PCBA inquiries
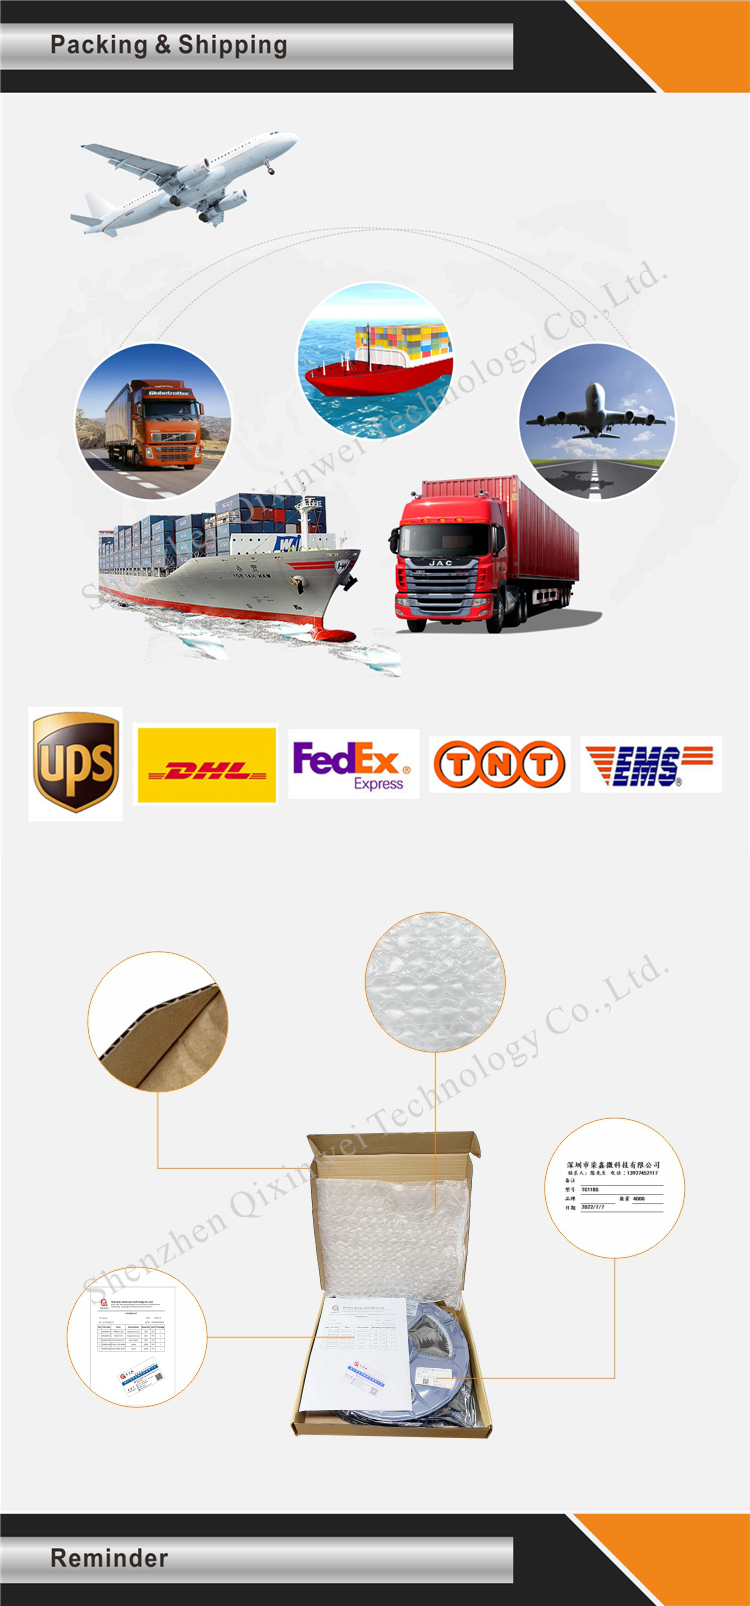
Quantity(Pieces) | 1 ~ 30000 | 30001 ~ 300000 | > 300000 |
Est. Time(days) | 5 | 7 | To be negotiated |
FAQ
1. What is the ESP32-CAM mini module and its key specifications?
The ESP32-CAM is a low‑cost, compact Wi‑Fi camera module built around the ESP32 chip and an OV2640 camera sensor. It can capture still images and stream video, making it ideal for IoT vision applications. Key specifications include:
- Processor: ESP32 dual‑core 32‑bit LX6, up to 240 MHz.
- Camera sensor: OV2640, 2 megapixels (1600×1200 max), with JPEG compression.
- Memory: 520 KB SRAM, plus 4 MB or 8 MB of QSPI Flash (depending on variant).
- Wireless: 2.4 GHz Wi‑Fi 802.11 b/g/n, Bluetooth 4.2 BR/EDR and BLE.
- Interfaces: microSD card slot (up to 4 GB), UART, SPI, I2C, I2S, GPIOs, LED flash.
- Power supply: 5 V DC via micro‑USB or 5V/GND pins (on‑board 3.3 V regulator).
- Dimensions: 27 mm × 40.5 mm × 4.5 mm.
2. What camera sensor does the ESP32-CAM use, and what are its imaging capabilities?
The module uses an OV2640 camera, a 2‑megapixel CMOS sensor with a fixed lens. It supports resolutions up to 1600×1200 (UXGA), with JPEG compression to reduce data size. Key image features include:
- Resolutions: 1600×1200, 1280×1024, 1024×768, 800×600, 640×480, 320×240.
- Video frame rates: up to 30 fps at VGA, 15 fps at SXGA.
- Lens: standard fixed lens, field of view ~60‑70°, manually adjustable focus.
- Image controls: brightness, contrast, saturation, white balance, exposure, gain, and special effects (grayscale, sepia, etc.).
3. How do I program the ESP32-CAM and what development environments are supported?
The ESP32-CAM can be programmed using the Arduino IDE, MicroPython, or ESP‑IDF. To upload firmware, you need a USB‑to‑serial adapter (such as an FTDI board) connected to the U0R, U0T, 5V, and GND pins. In the Arduino IDE, add the ESP32 board package and select "AI‑Thinker ESP32‑CAM" as the board. The built‑in "CameraWebServer" example sketch creates a Wi‑Fi video streaming server out of the box. Note: GPIO0 must be pulled LOW during upload to enter flashing mode; many adapters have a button or you can wire a jumper.
4. How do I power the ESP32-CAM, and what are its power requirements?
The module requires a stable 5 V DC supply, typically via the micro‑USB port or the 5V/GND pins. The on‑board regulator provides 3.3 V for the ESP32 and camera. During Wi‑Fi transmission and camera capture, the board can draw up to 500 mA peak current. A weak or noisy power supply is the most common cause of instability, brown‑outs, and Wi‑Fi disconnections. For reliable operation, use a 5 V/2 A adapter and add a 100 µF electrolytic capacitor across the 5V and GND pins near the board. Avoid powering the module solely from a 3.3 V source.
5. How do I use the microSD card slot on the ESP32-CAM?
The on‑board microSD card slot supports cards up to 4 GB (FAT32 format). It is connected to the ESP32 via the SPI bus (shared with some camera pins). In the Arduino IDE, the SD_MMC library allows you to save captured photos directly to the card. You can use the card to store images, log sensor data, or serve files over Wi‑Fi. Note: the card slot is not hot‑pluggable; insert the card before powering on the board. Also, using the SD card may slightly reduce the maximum video frame rate because SPI bandwidth is shared.
6. What GPIO pins are available on the ESP32-CAM, and which ones should I avoid?
The board has a limited number of accessible GPIO pins because many are used internally for the camera and PSRAM. Typically available pins include:
- Free GPIOs: GPIO4 (LED flash), GPIO12, GPIO13, GPIO14, GPIO15, GPIO16 (U2RXD).
- Shared pins: GPIO0 (also used for flash mode), GPIO2 (on‑board LED).
- Avoid: GPIO1, GPIO3 (UART), and GPIO6–11 (used by camera).
All GPIOs are 3.3 V only — do not apply 5 V directly. When designing external circuits, keep in mind that GPIO16 and GPIO0 have pull‑up resistors on the board.
7. Can the ESP32-CAM be used as a security camera or for video streaming?
Yes, it is one of the most popular uses. With the CameraWebServer example, you can view a live MJPEG stream in any web browser on the same Wi‑Fi network. The stream can be accessed by multiple clients simultaneously. The video quality is suitable for surveillance, baby monitors, doorbells, and pet cameras. Advanced features like motion detection (via frame differencing), time‑lapse photography, and email alerts can be added with custom code. For cloud storage, you can upload captured images to FTP servers or cloud platforms.
8. Does the ESP32-CAM support night vision or an external antenna?
The standard ESP32-CAM does not include an IR‑cut filter or infrared LEDs, so night vision requires an external IR illuminator. Some third‑party versions of the board include a built‑in LED flash (GPIO4) for low‑light photos. The module does not have a U.FL connector for an external antenna; it uses an on‑board PCB antenna. However, some users have successfully soldered an external antenna to the antenna pad after cutting the PCB trace. For better Wi‑Fi range, you can also use the ESP32‑CAM‑MB (with external antenna connector) or an external Wi‑Fi repeater.
9. What are the most common problems with the ESP32-CAM and how can I troubleshoot them?
Common issues and solutions:
- Board not detected / upload fails: ensure GPIO0 is pulled LOW during upload; check USB‑to‑serial adapter connections; try a different USB cable.
- Wi‑Fi disconnects / brown‑outs: use a stable 5 V/2 A power supply; add a 100 µF capacitor across 5V and GND.
- Camera not initializing: re‑seat the camera ribbon cable; ensure the correct board type is selected in the IDE (AI‑Thinker ESP32‑CAM).
- SD card not recognized: format card to FAT32; insert before powering; try a different card (some high‑speed cards may not be compatible).
- Low frame rate: reduce resolution; close other browser tabs; use a stronger power supply.
10. What are the most typical applications for the ESP32-CAM module?
It is widely used in IoT vision projects such as Wi‑Fi security cameras, video doorbells, baby monitors, pet feeders with camera, time‑lapse photography, QR/barcode scanners, facial recognition access control, object detection (with ESP‑DL or TensorFlow Lite), and remote environmental monitoring with photo capture. Its low cost, built‑in Wi‑Fi, and microSD storage make it a favourite for hobbyist and prototyping projects that need simple, low‑resolution image or video capabilities.