qixinwei-pcba


Pro Micro 5V/16MHz board with ATmega32U4 — built-in USB, no programmer needed. Supports keyboard/mouse emulation, ultra-compact, Arduino IDE compatible. Perfect for HID devices and portable projects
Pro Micro 5V/16MHz board based on ATmega32U4 with built-in USB transceiver — no extra programmer needed. 12 digital I/O (5 PWM), 9x 10-bit ADC, hardware serial. Onboard Micro USB, Arduino IDE 1.0.1+ compatible, works on Windows/Mac/Linux. Ultra-compact 1.3"×0.7". For keyboard emulation, mouse control, DIY game controllers, portable prototyping
Pro Micro 5V/16MHz board Core Processor
◆ Main Chip
ATmega32U4 (Microchip/Atmel AVR)
◆ Processor Core
8-bit AVR RISC architecture
◆ Max Clock Speed
16MHz
◆ Operating Voltage
5V
Memory Specifications
◆ Flash
32KB (self-programming)
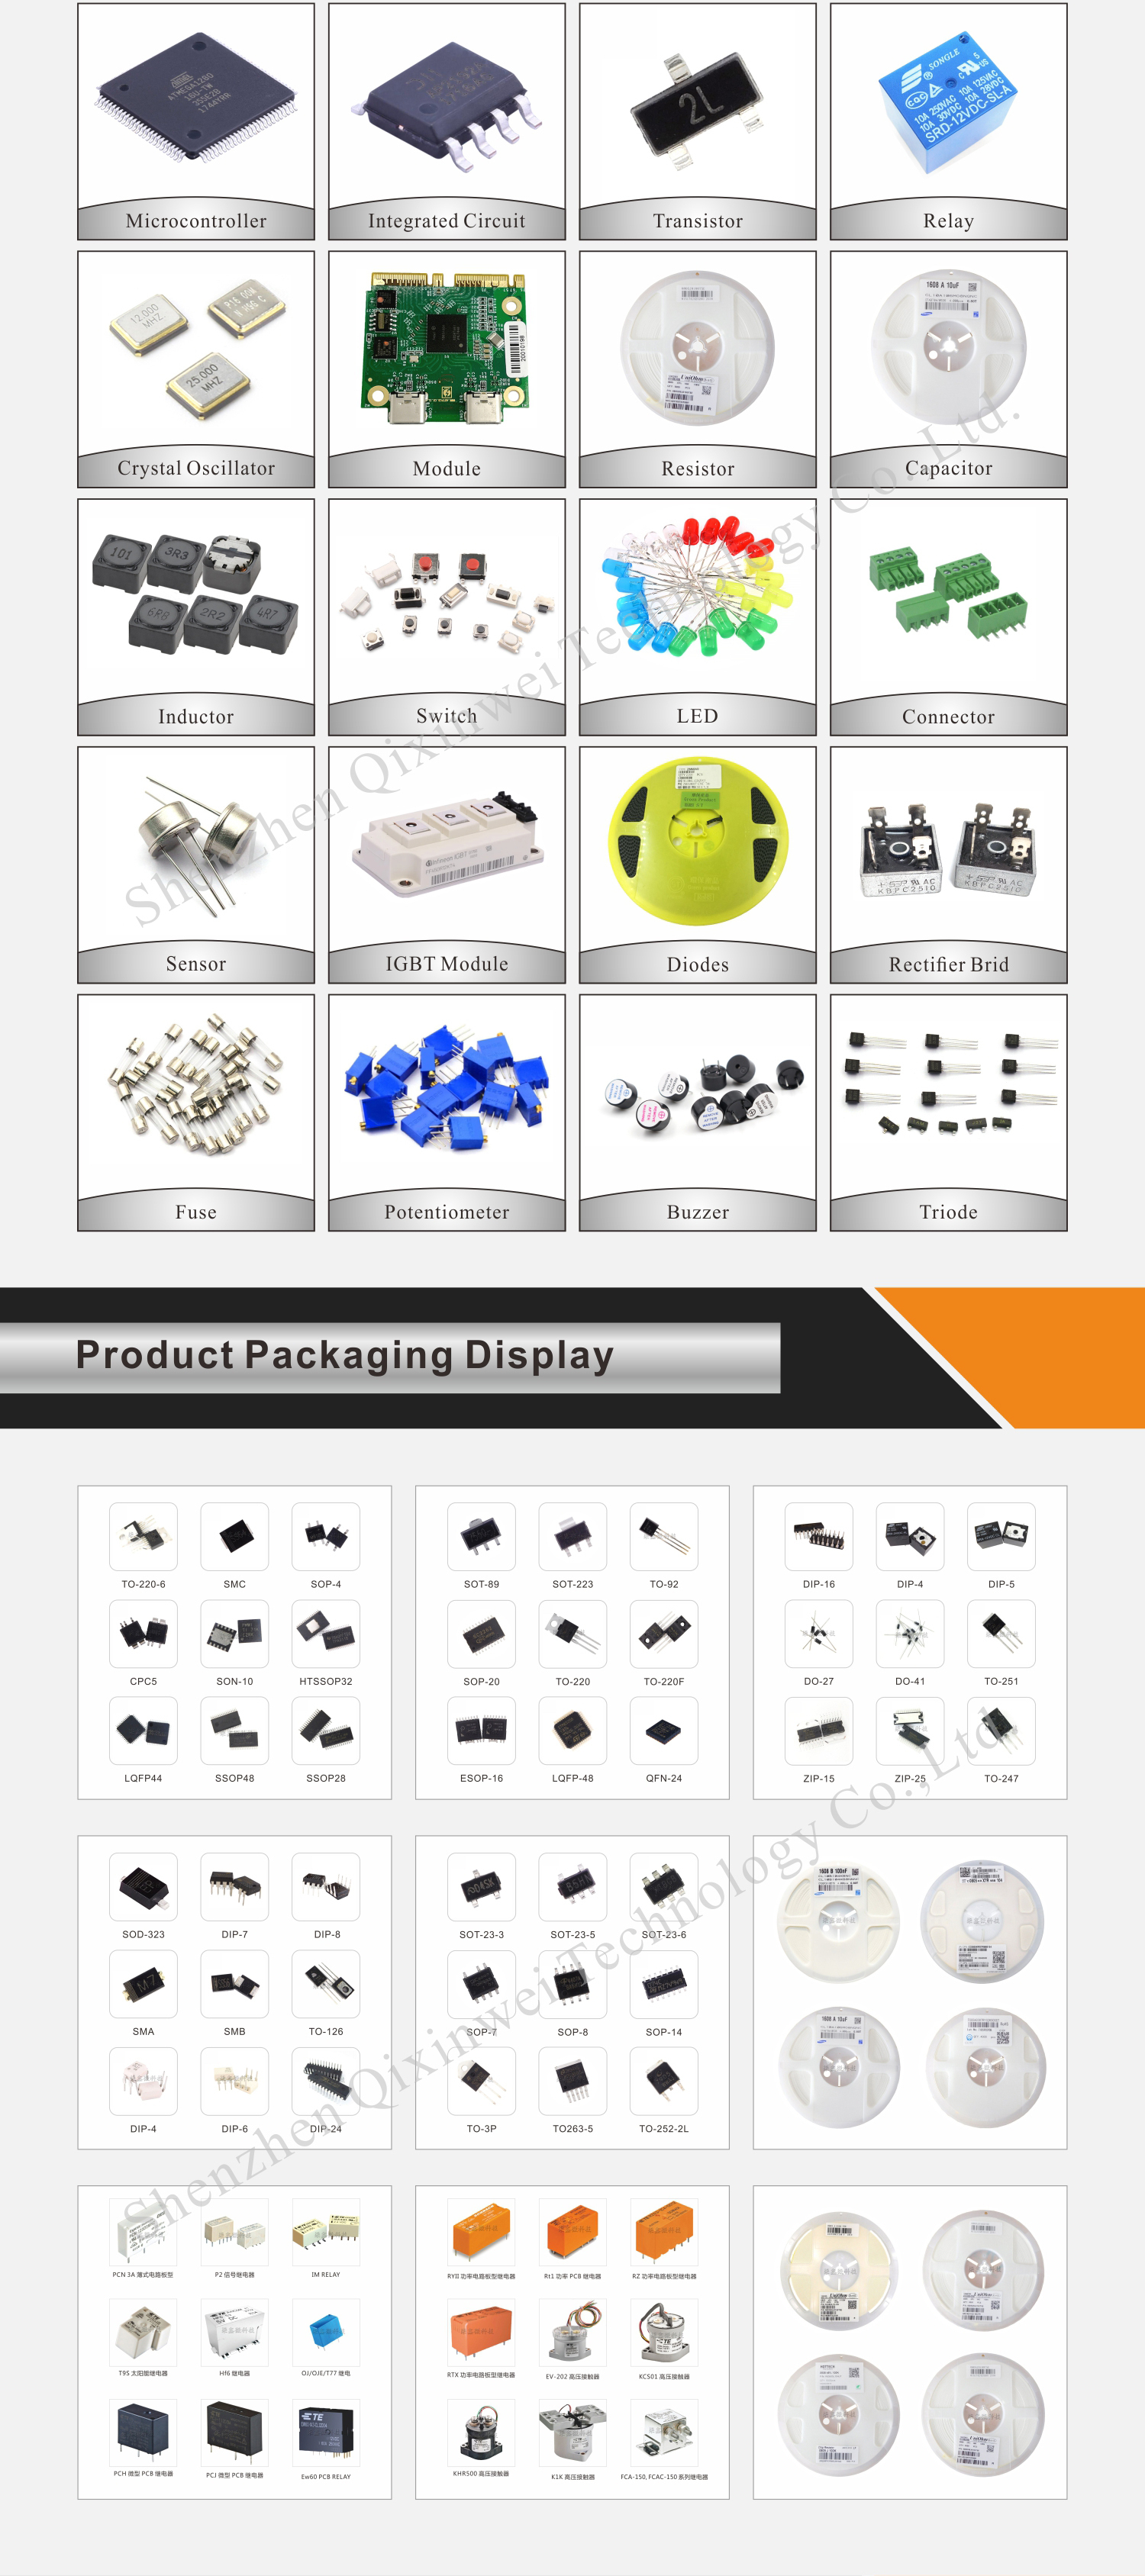
Pro Micro 5V/16MHz board Key Advantage (USB Direct)
◆ Built-in USB Transceiver
No external USB-to-serial chip needed — connects directly via Micro USB
◆ USB HID Support
Can emulate keyboards, mice, game controllers
◆ Native Arduino IDE Support
No extra drivers needed (Windows 10+ auto-detects)
I/O Interfaces
◆ Digital I/O
12 pins (D0-D13)
◆ Analog Input
9 channels, 10-bit ADC
◆ Hardware Serial
TX/RX (D1/D0)
◆ External Interrupts
INT0-INT4 (D3/D2/D0/D1/D7)
Special Function Pins
◆ SPI
MISO(D16), MOSI(D14), SCK(D15)
◆ I2C
SDA(D2), SCL(D3)
◆ Serial
RX(D0), TX(D1)
◆ Analog Inputs
A0-A3 + D4/D6/D8/D9/D10 (9 total)
Onboard Resources
◆ Programming Interface
Micro USB (code upload & serial communication)
◆ Power Input
RAW pin (6-12V DC, 7-12V recommended)
◆ Onboard LEDs
◆ Protection
PTC fuse + reverse polarity diode
Pro Micro 5V/16MHz board Power Options
◆ USB Power
5V (direct via Micro USB)
◆ External Power
RAW pin 6-12V input, onboard 5V regulator
◆ VCC Output
5V (regulated from USB or RAW)
◆ Max Current
~500mA (USB limited)
Physical Specifications
◆ Dimensions
33.0mm × 17.8mm (1.3"×0.7")
◆ Weight
Approx. 5-10g
◆ Pin Pitch
2.54mm standard header
◆ Mounting
Through-hole or header pins
Pro Micro 5V/16MHz board Development Environment
◆ Arduino IDE Support
v1.0.1 and above
◆ Board Configuration
Tools > Board > SparkFun Pro Micro > Processor > ATmega32U4 (5V, 16MHz)
◆ Third-Party IDE
Microchip Studio (direct flash without bootloader)
◆ Programming Methods
Pro Micro 5V/16MHz board Applications
◆ USB HID Devices
Custom keyboards/mice
Game controllers/joysticks
Macro keypads
Presentation clickers
◆ Portable Projects
Wearable electronics
Small robot controllers
Sensor data logging
Drone ground stations
◆ DIY Electronics
Arduino creative projects
Smart home nodes
MIDI controllers
3D printer control boards
Key Advantages
◆ One-Click Programming
Direct USB connection, no external programmer needed
◆ Native HID Support
Easily emulate keyboards/mice for macro devices
◆ Ultra-Compact
1.3"×0.7", smaller than Arduino Nano
◆ Wide Voltage Input
6-12V on RAW pin for automotive/battery use
◆ Beginner Friendly
Native Arduino IDE support, plug-and-play
◆ High Value
Leonardo-like features at lower cost
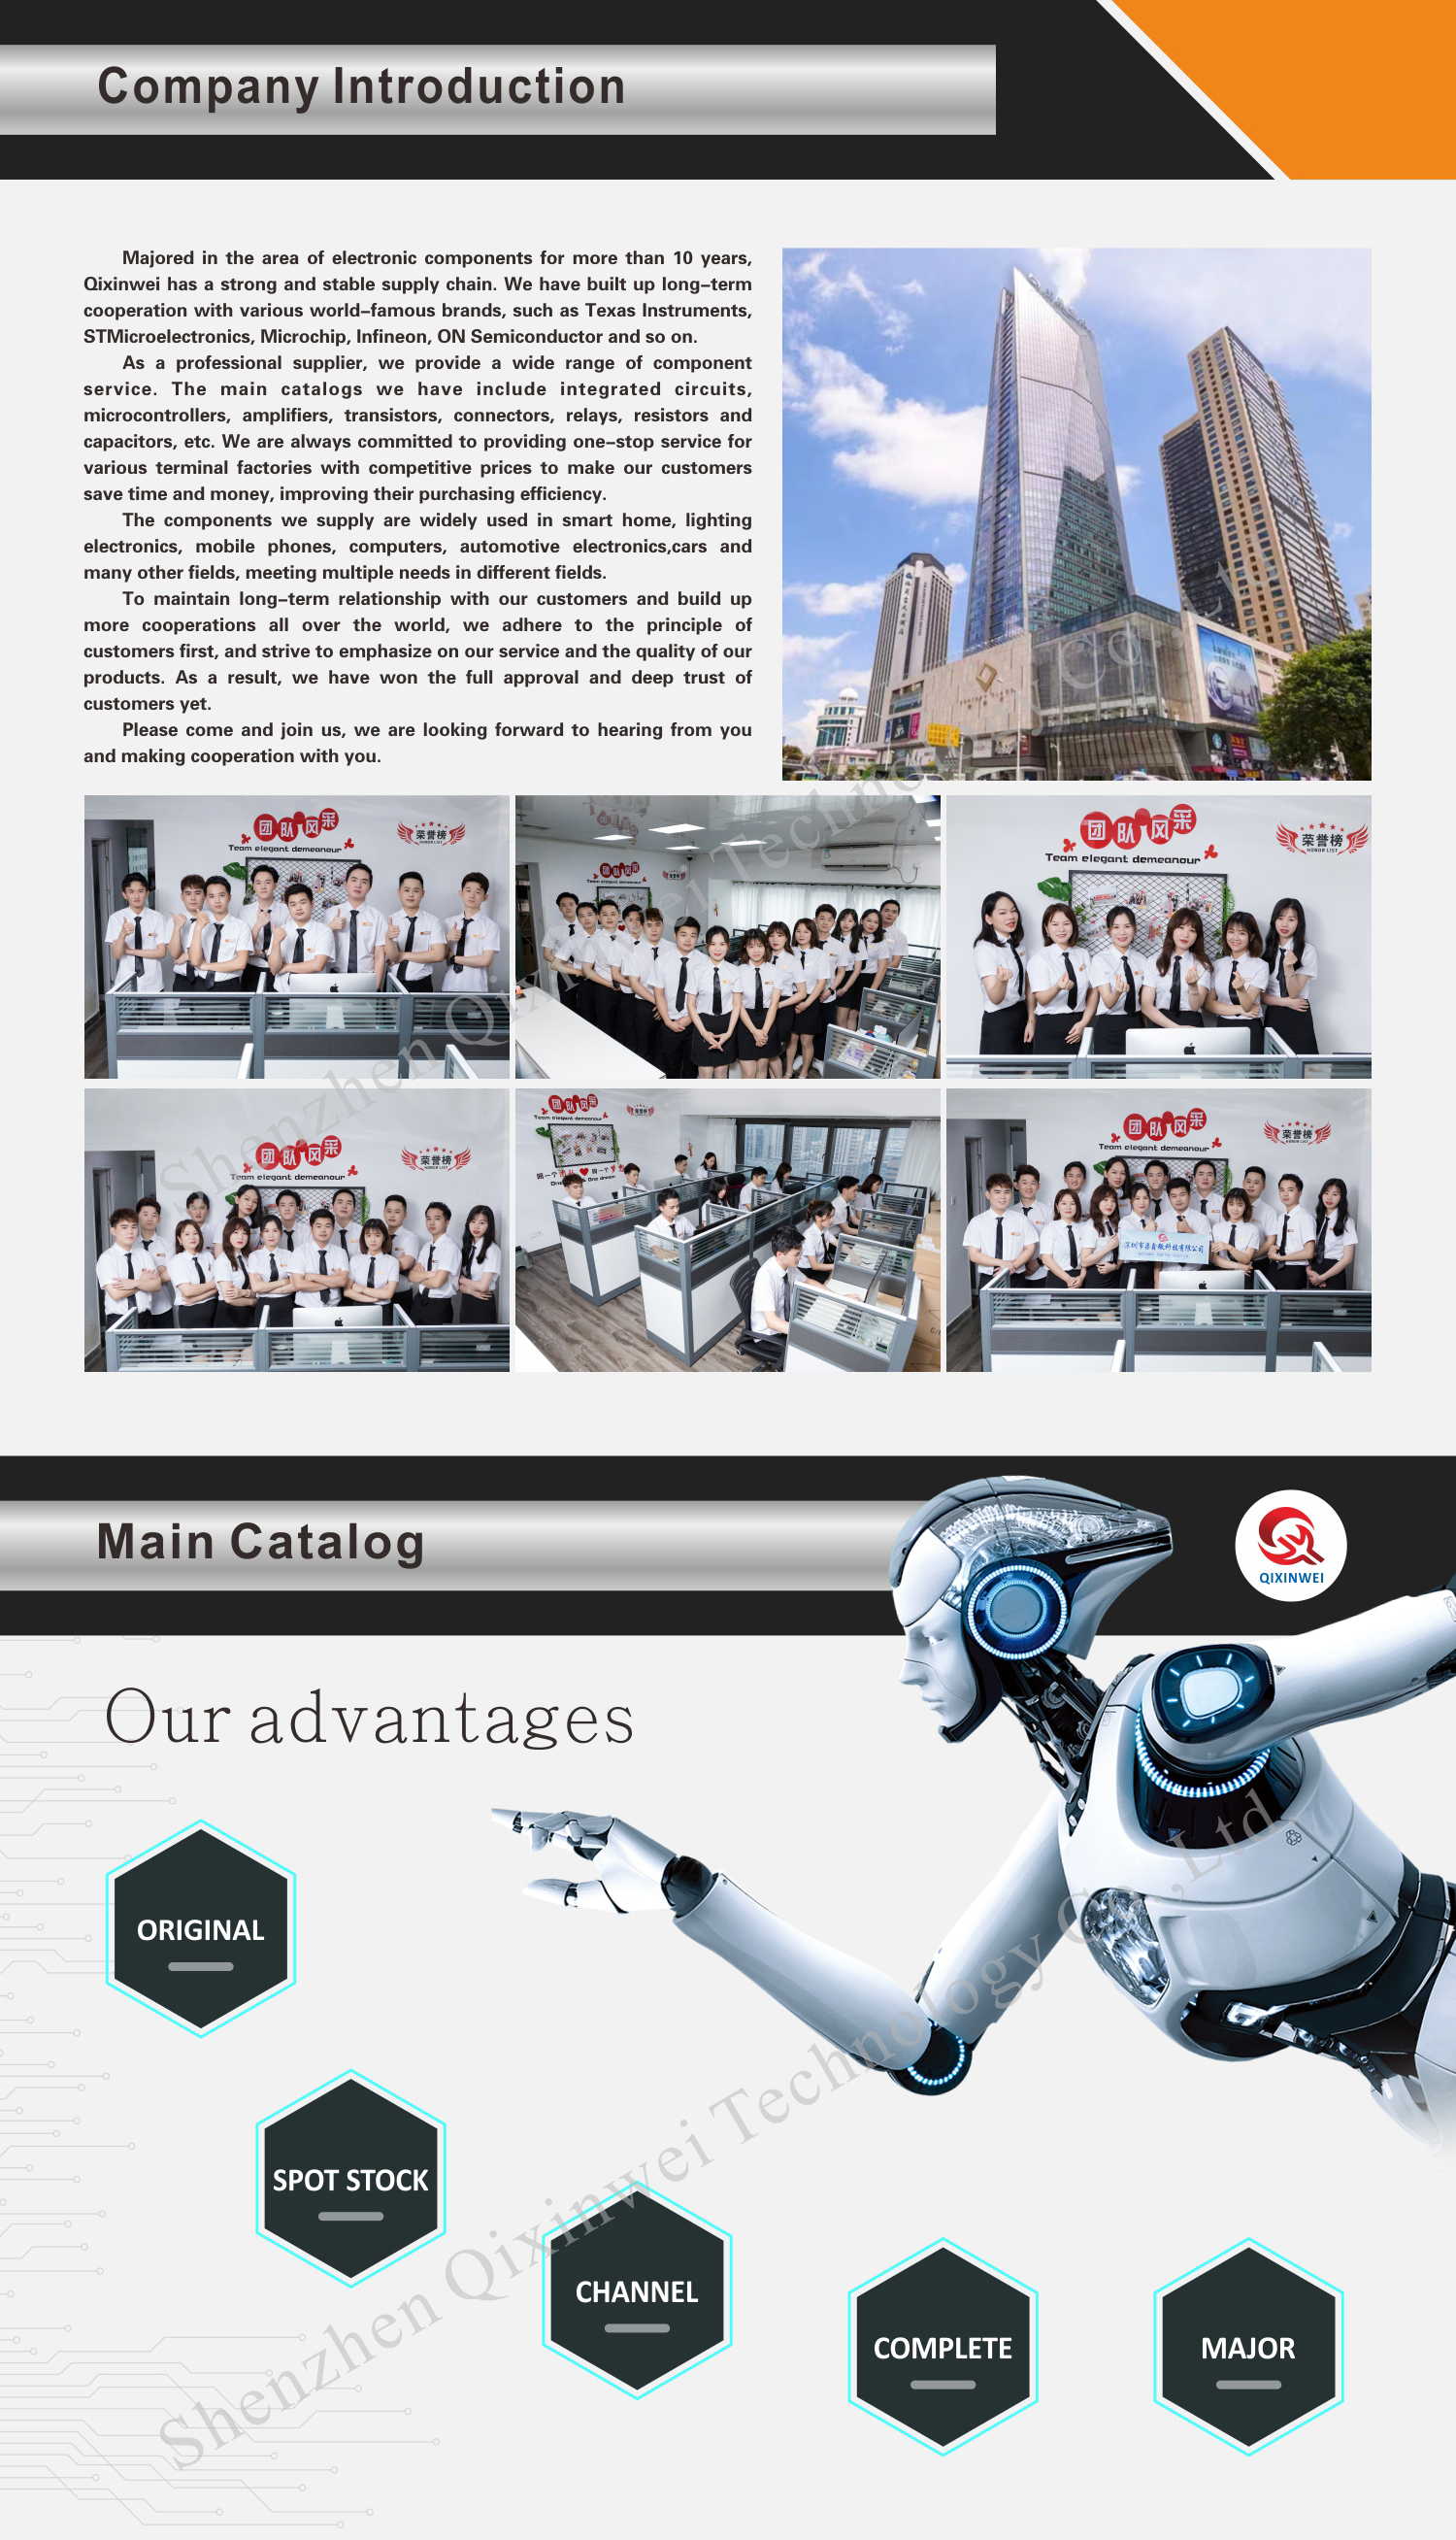
Why Choose QIXINWEI
Years of experience in the electronics industry. Trusted by global customers.
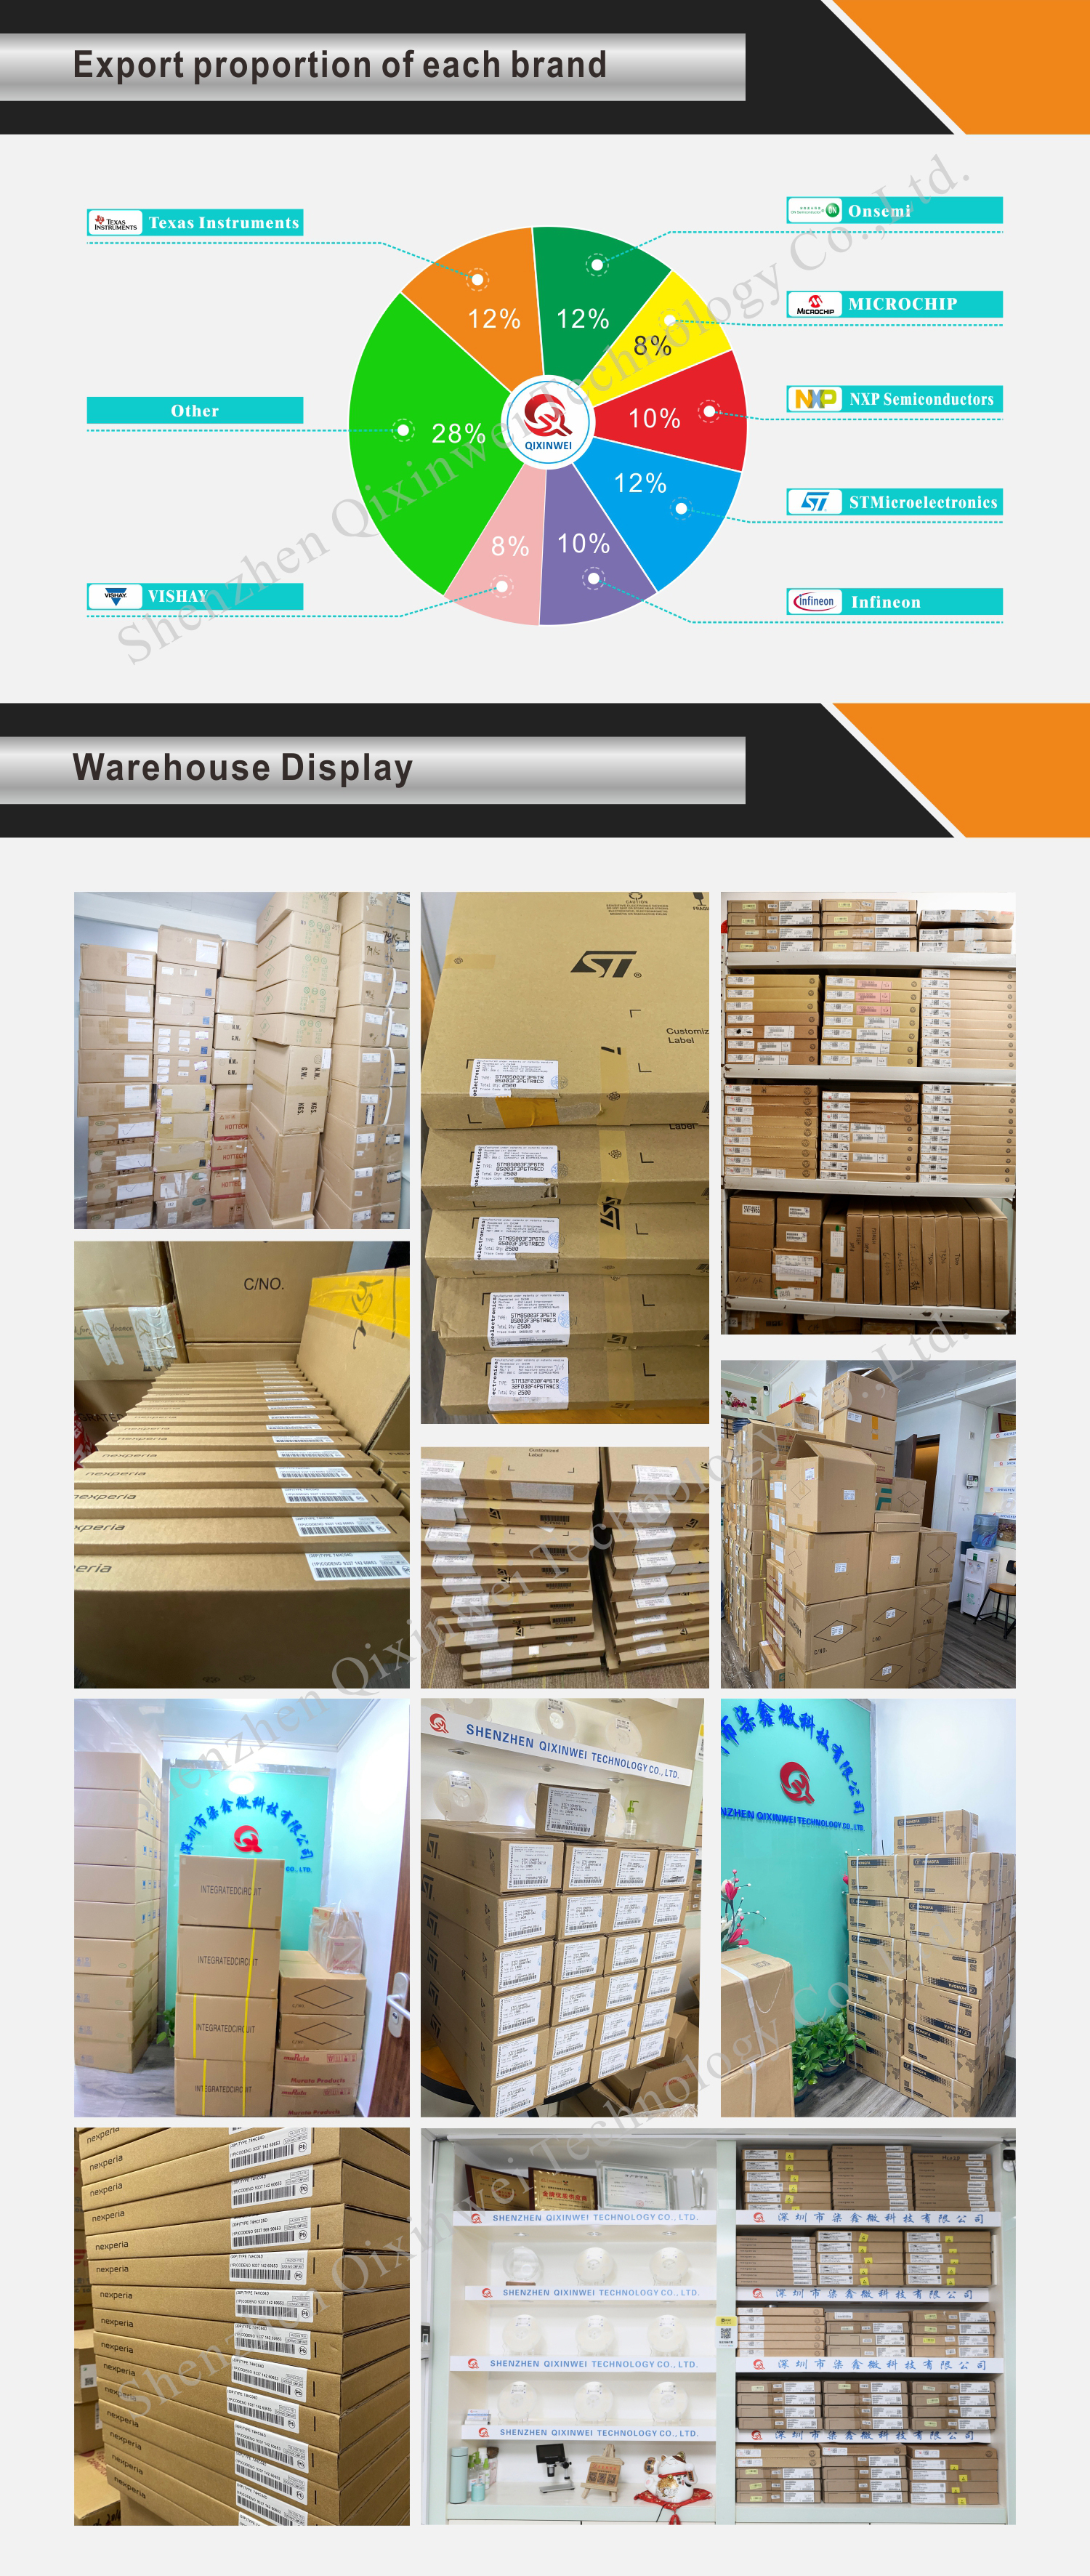
Massive In-Stock Inventory – Ready to ship promptly
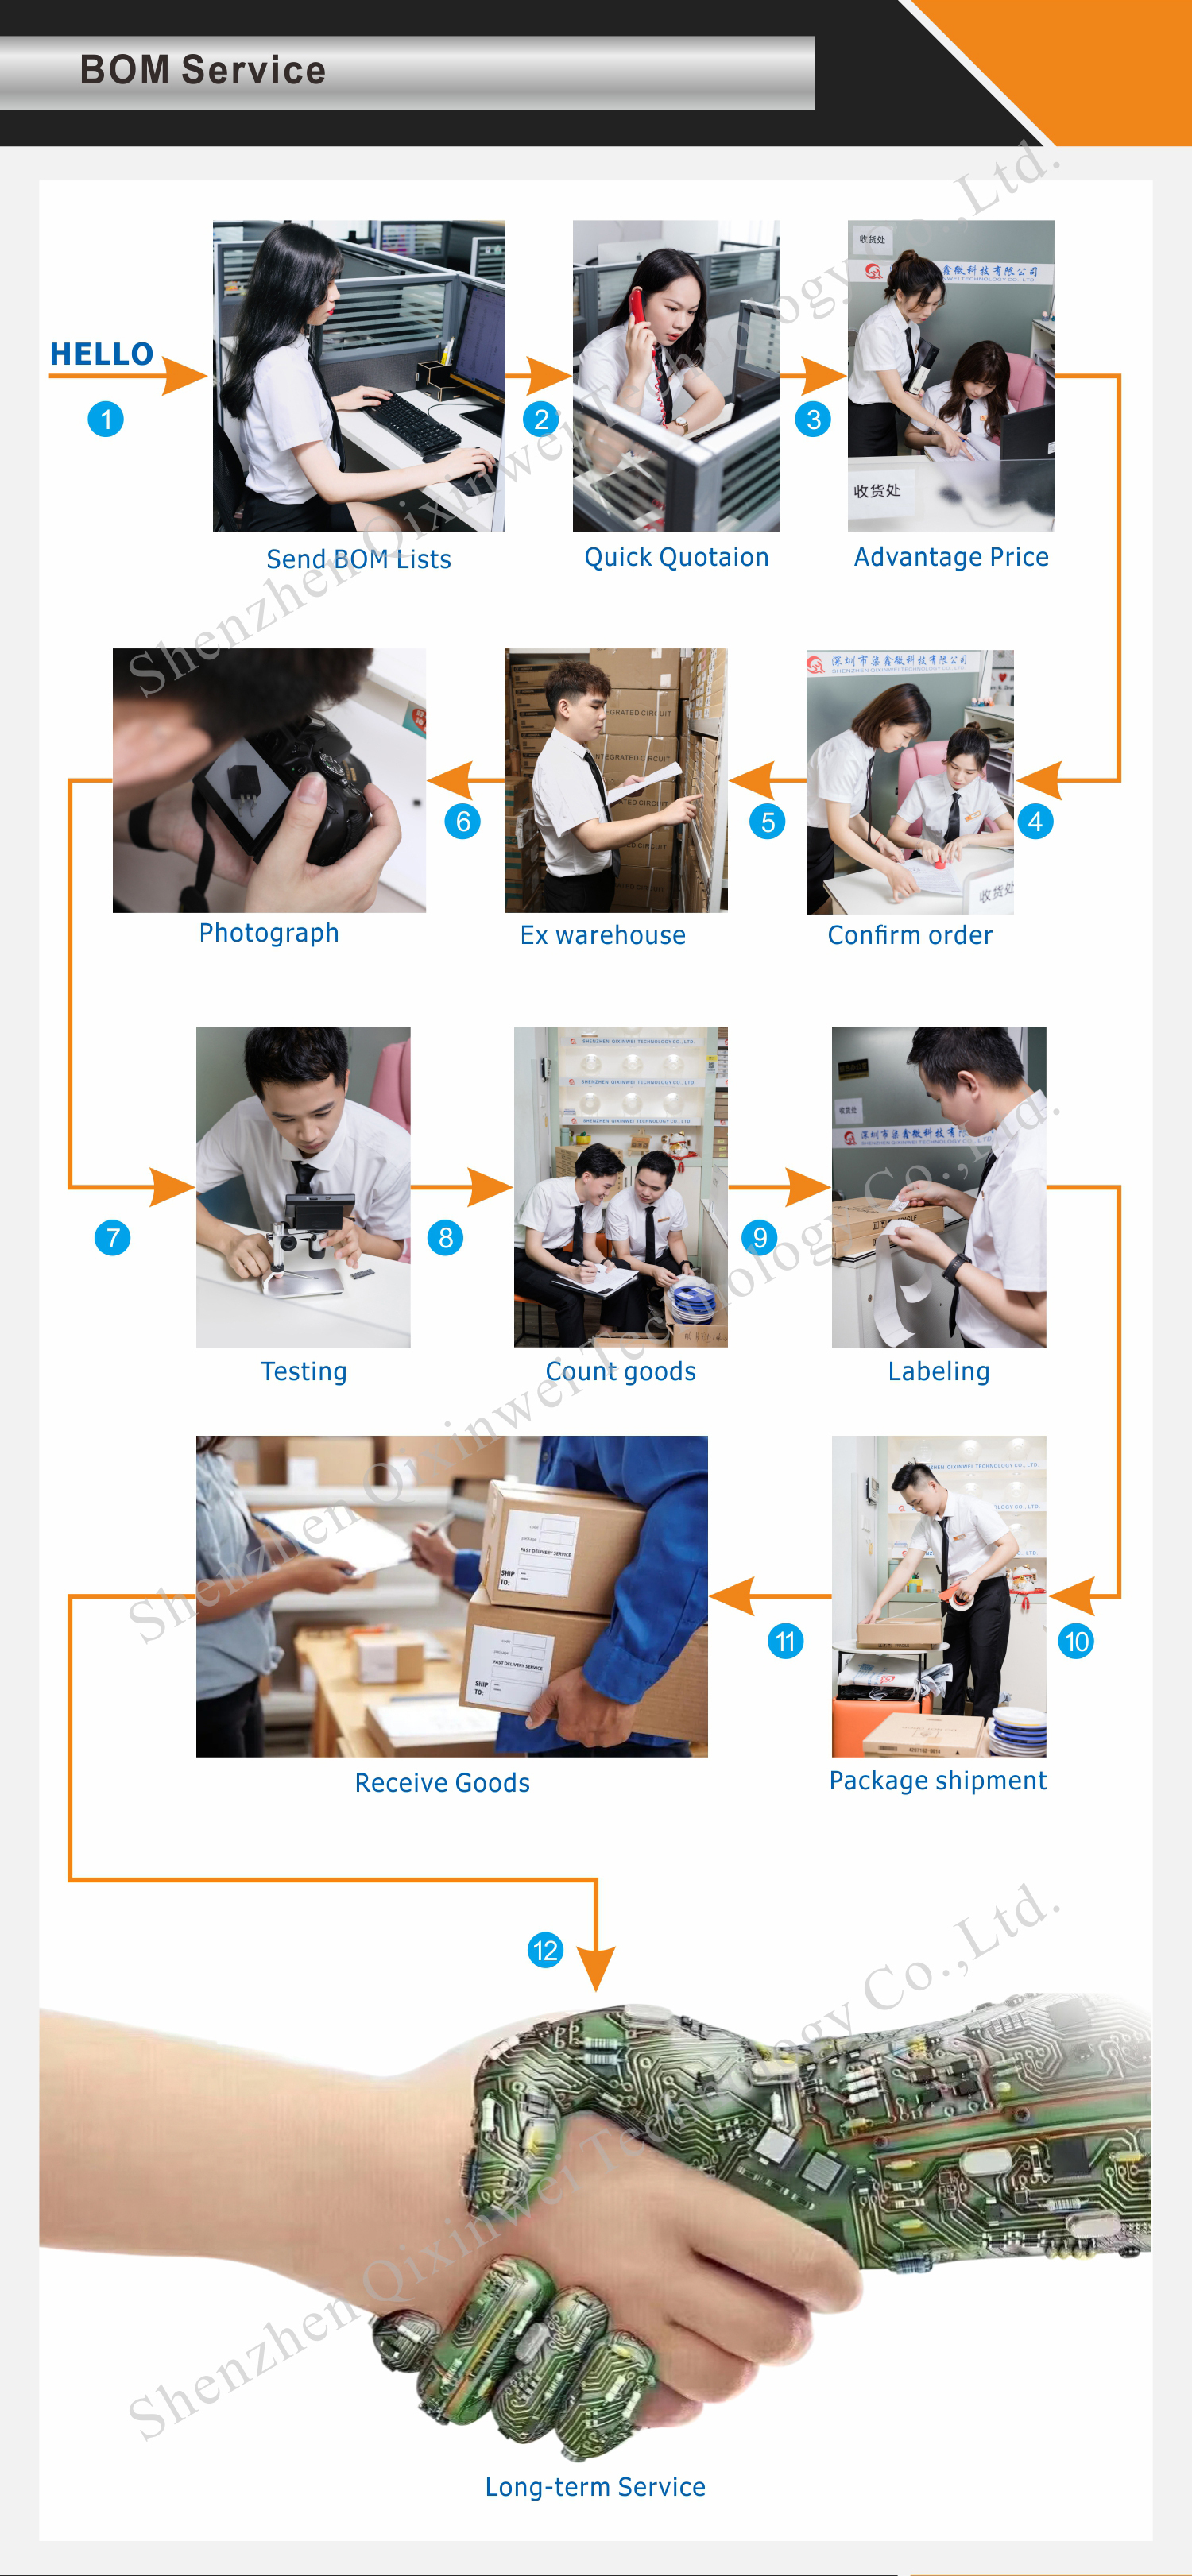
BOM Matching Service – One-stop solution, save time
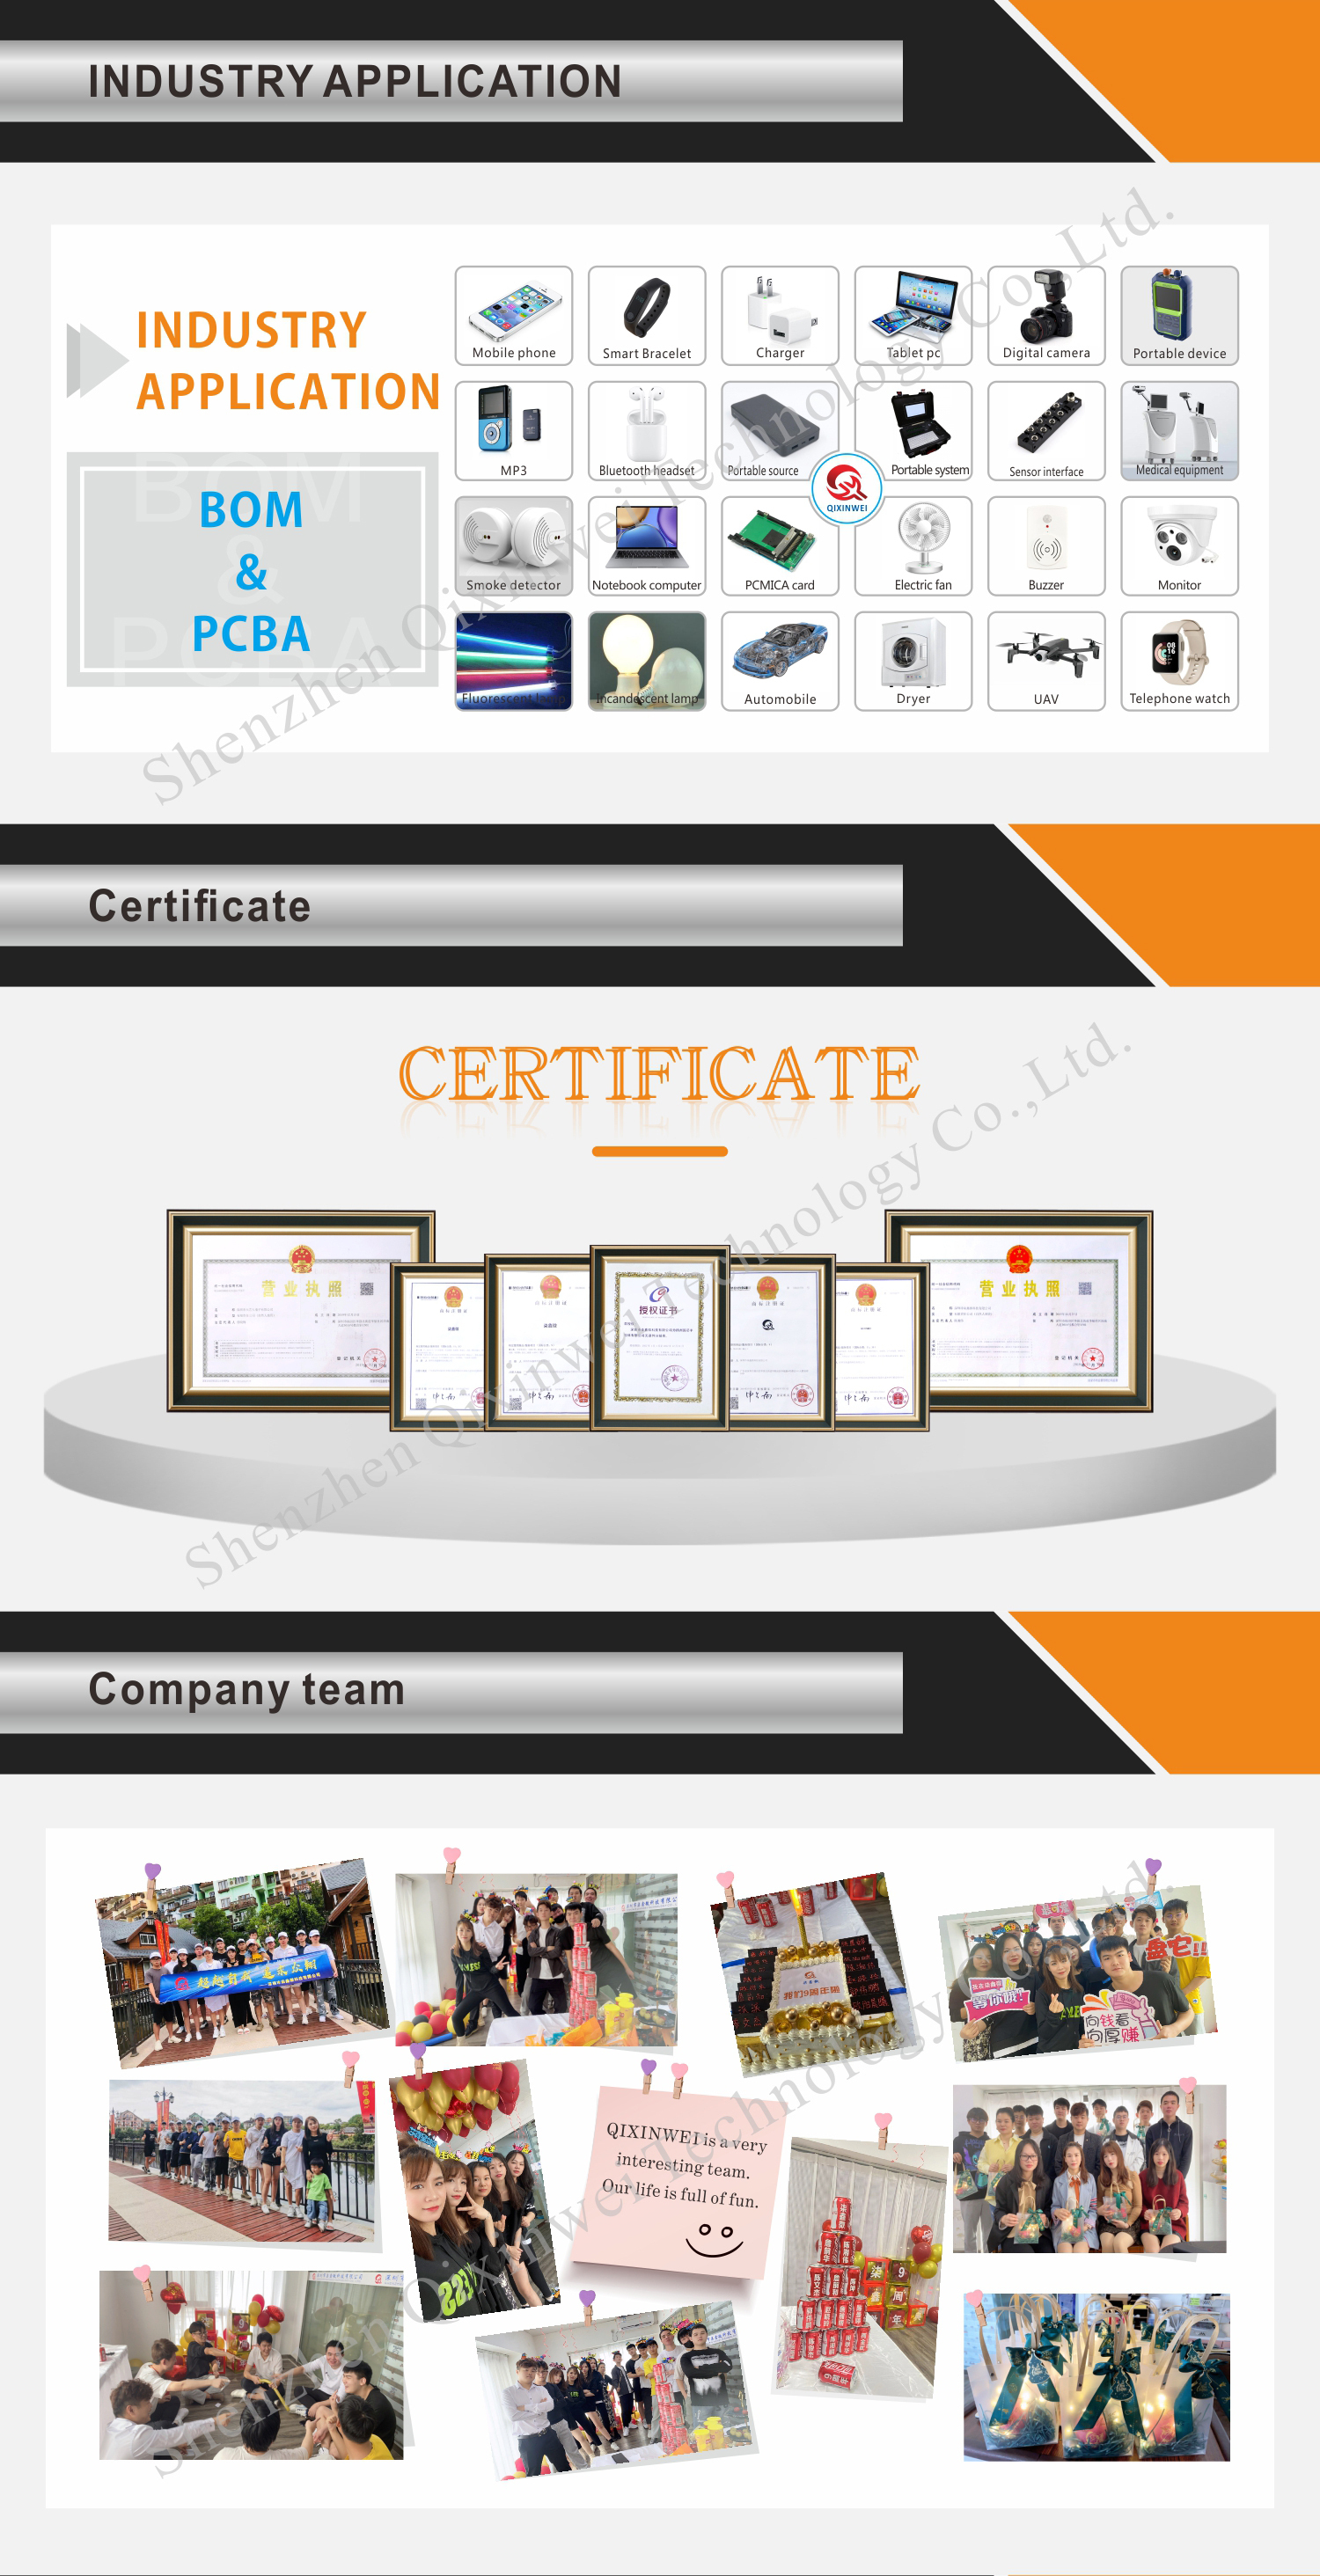
PCBA Customization – Professional engineering team creates tailor-made solutions based on your needs
Cost-Effective & Efficient – Better channel, better cost
A dedicated team makes your procurement smoother.
Contact us for BOM quotes or PCBA inquiries



Notes : Since the prices of the electronic components are unstable, the prices we show are for reference only. Please confirm
the recent prices with us before ordering!

FAQ:
What is the Pro Micro 5V/16MHz board and its key specifications?
This is an ultra‑compact development board built around the ATmega32U4 microcontroller. Unlike the Arduino Uno (ATmega328P), the 32U4 has a built‑in USB controller, allowing it to communicate directly with a computer as a native USB device. Key specifications: operating voltage 5 V, clock speed 16 MHz, 32 KB of Flash (4 KB used by bootloader), 2.5 KB of SRAM, and 1 KB of EEPROM. It provides 18 digital I/O pins (of which 7 support hardware PWM), 9 analog input pins (10‑bit ADC), and hardware UART, SPI, and I2C interfaces. The board can be powered via the micro‑USB port (5 V) or an external 6–12 V supply on the VIN pin. Its tiny size and native USB make it ideal for HID devices, wearables, and portable projects.How does the ATmega32U4 Pro Micro differ from an Arduino Uno or Nano?
The Uno/Nano use the ATmega328P and require a separate USB‑to‑serial chip (like the CH340 or FTDI). The Pro Micro’s ATmega32U4 has a built‑in USB engine, meaning it can act as a USB keyboard, mouse, gamepad, or MIDI device without any extra hardware or software tricks. The Pro Micro also has more SRAM (2.5 KB vs 2 KB), more analog inputs (9 vs 6/8), and a smaller footprint. The trade‑off is slightly less Flash (32 KB vs 32 KB on Uno, but the 32U4 has 4 KB bootloader vs 0.5 KB on Uno, leaving less user space) and the need for a special driver on Windows for some clones. For projects that need USB HID emulation or a tiny form factor, the Pro Micro is the clear choice; the Uno/Nano are better for simple, 5 V‑shield‑compatible prototyping.How do I program the Pro Micro with the Arduino IDE? Do I need an external programmer?
No external programmer is needed. Install the Arduino IDE, connect the board via a micro‑USB cable, and select “Arduino/Genuino Micro” or “SparkFun Pro Micro” from the Board menu. Choose the correct processor (ATmega32U4 (5V, 16 MHz)) and the corresponding COM port. To upload sketches, you may need to manually reset the board: press the reset button (or briefly short RST to GND) twice quickly to enter the bootloader, then click Upload. The board appears as a virtual COM port for serial communication and as an HID device for keyboard/mouse emulation. All standard Arduino functions work identically.What are the pinouts and available I/O on the Pro Micro?
The board provides 18 digital I/O pins (numbered 0–16, plus an additional pin on the A0–A3 row). 7 PWM‑capable pins are available (D3, D5, D6, D9, D10, D11, D13). 9 analog inputs (A0–A3, A6–A10) are mapped to a 10‑bit ADC (0–5 V, resolution 0–1023). Hardware communication: UART (TX/RX on D1/D0), I2C (SDA/SCL on D2/D3), and SPI (D16, D14, D15). The board also breaks out VCC, GND, RST, and RAW pins. All I/O pins operate at 5 V logic and are not 5 V tolerant (since the MCU itself runs at 5 V, this is a 5 V board; the 3.3 V version exists but is separate). The pin spacing matches standard breadboards.How do I use the Pro Micro as a USB keyboard, mouse, or gamepad?
Thanks to the ATmega32U4, you can use the Keyboard and Mouse libraries included with the Arduino IDE. For a keyboard, useKeyboard.begin()andKeyboard.print("Hello"). For a mouse, useMouse.move(x, y)andMouse.click(). For a gamepad, use the Joystick library (by Matthew Heironimus) or NicoHood’s HID library. The board enumerates as a genuine HID device, so no driver is needed. Important: after uploading a sketch that uses the USB HID functions, the board may stop appearing as a COM port. To upload a new sketch, you must manually reset the board (double‑press reset) to enter the bootloader. Also, be careful not to create a sketch that continuously sends keystrokes, which could make it difficult to reprogram.What power supply does the Pro Micro need, and what is the power consumption?
The board can be powered via the micro‑USB port (5 V) or through the RAW pin (6 V – 12 V DC), which is regulated down to 5 V by an on‑board LDO. The VCC pin provides a regulated 5 V output (up to ~500 mA from USB) for external components. Typical current consumption in active mode at 16 MHz is around 25 mA – 30 mA. The board supports low‑power sleep modes; in power‑down with the watchdog disabled, the current drops to < 1 µA. For battery‑powered projects, a single 3.7 V Li‑Po cell can be connected to the RAW pin (minimum 6 V is recommended for the regulator, but a 3.7 V cell connected to VCC directly bypasses the regulator and works because the ATmega32U4 can run down to 2.7 V at 8 MHz, though it would be underclocked). The 5 V version is optimised for 5 V USB power.How do I enable the watchdog timer or use the deep‑sleep modes?
The ATmega32U4 supports several sleep modes. To use them, you can include thelibrary in your sketch and call sleep_mode(). The watchdog timer can wake the MCU from sleep. The LowPower library (by Rocket Scream) provides easy‑to‑use functions for millis, micros, and watchdog‑based sleep. In the deepest power‑down mode, the board draws < 1 µA. Note that when the USB is not connected, the board can enter true low‑power states; if the USB is connected, the USB transceiver keeps the chip partially awake. For ultra‑low‑power projects, consider using the Pro Micro 3.3V/8MHz version and removing the power LED.Can the Pro Micro be used as a USB‑to‑Serial converter or a programmer for other boards?
Yes, but not in the same way as an FTDI board. The Pro Micro can run sketches that act as a USB‑to‑UART bridge (e.g., by using the Serial object for USB communication and Serial1 for hardware UART). It can also be used as an ISP programmer to burn bootloaders onto other AVR chips, using the ArduinoISP sketch and the ICSP header (the Pro Micro does not have a dedicated ICSP header, but you can use the digital pins for SPI programming). Because it is a native USB device, it cannot be used as a passive USB‑to‑serial adapter like a CP2102; it must be programmed with the appropriate sketch.Why does my Pro Micro not appear as a COM port after uploading a sketch?
This is normal behaviour for the ATmega32U4. When you upload a sketch that uses the USB HID functions (Keyboard, Mouse) or does not initialise the USB CDC serial port, the board will not enumerate as a virtual COM port. To upload a new sketch, you must reset the board into bootloader mode: quickly press the reset button twice (or connect RST to GND twice). The board will then appear as a COM port (or as a “SparkFun Pro Micro” bootloader device) for about 8 seconds. Upload your new sketch during this window. This is the standard procedure for all 32U4‑based boards. If the double‑reset does not work, hold the reset button, click Upload in the IDE, and release the reset button when the IDE says “Uploading”.How does the Pro Micro compare to the Teensy 2.0 or the Arduino Leonardo?
All three use the ATmega32U4 and offer native USB. The Teensy 2.0 has a faster bootloader, more I/O pins (25), and a more powerful software framework (Teensyduino), but it is slightly larger and more expensive. The Arduino Leonardo is an official board with the Uno shield footprint, making it ideal for shield‑based projects, but it is much larger than the Pro Micro. The Pro Micro is the smallest and most cost‑effective of the three, making it the preferred choice for embedded HID devices, wearables, and compact prototypes where space and cost are the primary constraints. It is not as beginner‑friendly as the Leonardo (the reset‑to‑program quirk can be confusing), but its tiny size is unmatched.What are the most typical applications for the Pro Micro 5V/16MHz?
It is the go‑to board for DIY USB keyboards (macro pads, custom keyboards), USB mouse jigglers, game controllers (joysticks, flight sim panels), MIDI controllers, USB‑to‑UART bridges, and tiny data loggers. Its ability to emulate any HID device, combined with its breadboard‑friendly size, makes it the favourite of the mechanical keyboard and custom input device communities. It is also widely used in wearable electronics, portable sensor nodes, and USB security dongles. Any project that needs to communicate with a computer as a human interface device or that must fit into a very small space will benefit from the Pro Micro.
- 系列:
- Development Board
- 描述:
- Atmega32U4 Pro Micro
- 型号:
- Atmega32U4 Pro Micro
- 类型:
- 开发板模块
- 原产地:
- Original
- 品牌:
- Original
- 制造商生产批次(日期):
- Newest
- 封装:
- Standard
- 功能:
- Standard
- 嵌入式:
- Standard
- 使用的 IC/零件:
- Standard
- A/D 转换器数:
- Standard
- 位数:
- Standard
- 采样率(每秒):
- Standard
- 数据接口:
- Standard
- 输入范围:
- Standard
- 放大器类型:
- Standard
- 输出:
- Standard
- 不同负载时的最大输出功率 x 通道数:
- Standard
- 电压-电源:
- Standard
- 板类型:
- Standard
- 主要用途:
- Standard
- 输出和类型:
- Standard
- 功率-输出:
- Standard
- 电压-输出:
- Standard
- 电流 - 输出:
- Standard
- 电压 - 输入:
- Standard
- 频率 - 开关:
- Standard
- 核心处理器:
- Standard
- 内置操作系统类型:
- Standard
- 平台:
- Standard
- 安装方式:
- Standard
- 电流 - 输出/通道:
- Standard
- 特性:
- Standard
- 每 IC 通道数:
- Standard
- 稳压器类型:
- Standard
- -3db 带宽:
- Standard
- 电流 - 电源(主 IC):
- Standard
- 电压 - 电源,单/双(±):
- Standard
- 传感类型:
- Standard
- 插口:
- Standard
- 灵敏度:
- Standard
- 模块/板类型:
- Standard
- 最大 IC 数:
- Standard
- 最长时间:
- Standard
- 感应范围:
- Standard